The matched guides organize the prison by function, not by a coordinate map. They do not publish a keycard list, a duct route, or a button that completes an escape. Use the area pages as a way to decide where to stand, then confirm the layout in your current server.
Area types
| Area | Risk label in the guides | Use it for | Leave it when |
|---|---|---|---|
| Cell block | Medium | Meet, share information, judge whether the server is calm | The plan is being said out loud in a crowd |
| Prison yard | High | Watch patrols and meet in the open | An escape is already in progress |
| Dining and common areas | Medium | Talk and find people who will cooperate | The conversation turns into a route briefing |
| Administrative and staff areas | High | See where security actually is | You do not have a reason to be there |
| Service corridors | Variable | Move without the main crowd | The corridor has one exit and people are already in it |
| Outer perimeter | High | The last stretch toward an exit | The whole group is standing in the open |
Each area has a short page under Map routes.
A planning loop that matches those notes
- Read the server before you move. A quiet cell block and a yard full of fights are different problems.
- Pick one next spot, not the final exit. Cross that gap, then stop.
- Keep a fallback that is not the same hallway you just used.
- If security notices you, change the plan. The guides say pursuit is the moment to stop the original route, not to sprint the rest of it.
- After a failed attempt, regroup somewhere that is not the perimeter. Do not restart from the same open ground.
Solo players in those guides scout first. Groups split the work: one person checks the next gap, others wait. Nothing in the material says a distraction item is required, so do not wait on a tool the server has not shown you.
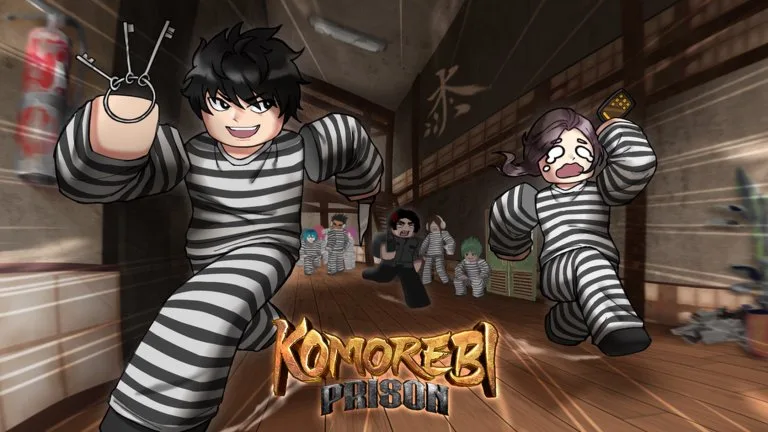
Official key art shows a character holding keys during a run down a hall. That image is linked on this page as art. It does not prove a key pickup, a door ID, or a success message.